

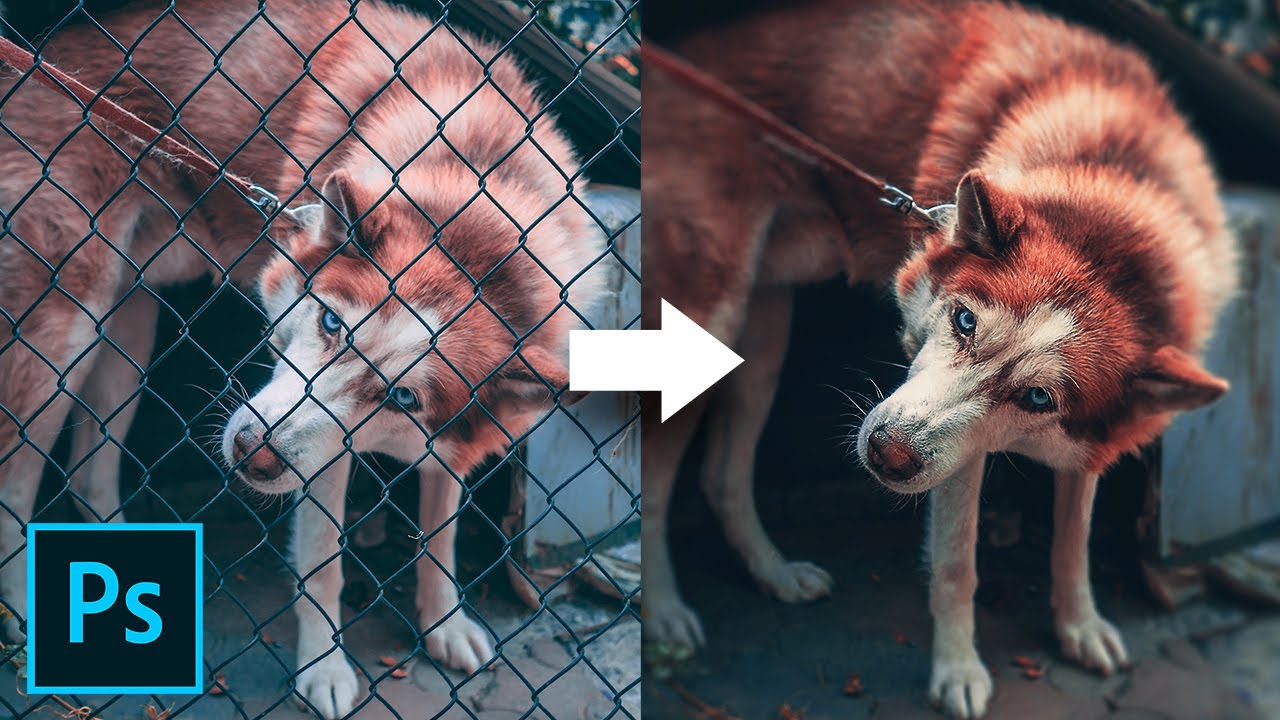
Remove Fence with 3 Simple Steps in Photoshop!
PiXimperfect on YouTube
A video on YouTube. In Photography & Film, a Krater category.
Watch on YouTubeSummary by Krater
A tutorial explaining a three-step process in Adobe Photoshop to remove a wire fence from in front of a subject's photo by painting a mask, applying Content-Aware Fill, and making manual adjustments using clone stamp, healing brushes, tilt-shift blur, and sharpening.
From the video
Answers: How do I remove a fence from a photo in Photoshop?
- removing fences in Photoshop
- using layer masks for brush work
- Content-Aware Fill tool
- clone stamp tool rotation and cloning
- healing brush tool retouching
- tilt-shift blur for selective focus
- high pass filter for sharpening
What it concludes
- Manual painting of the fence mask is necessary because most real-world fences are not perfectly aligned or symmetrical.
- Content-Aware Fill successfully removes the fence when applied to the background layer with output set to a new layer.
- Manual retouching using healing brushes and clone stamp is required to fix imperfections remaining after Content-Aware Fill.
- Cloning an eye and flipping it vertically can be used to repair damaged facial features when direct healing fails.
- Tilt-Shift blur and High Pass sharpening layers are effective final steps to restore selective focus and detail on the subject's face.
Seen it? Rate it, review it and add it to your lists.
Title, thumbnail and channel name from YouTube. Krater isn't affiliated with, endorsed by or sponsored by YouTube or Google.